|
When last I went out, the tide was running at Somers Point to the extent that I had to crab sideways into the dock. Once I cleared the breakwater on either side of the ramps, Spark went from fighting the tide to moving quickly forwards.
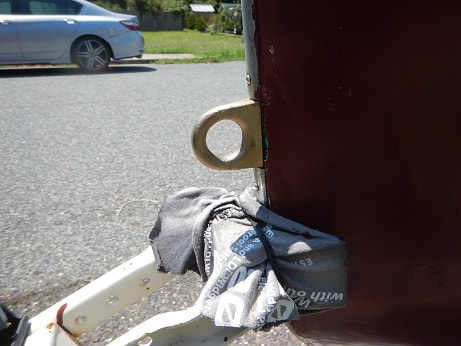
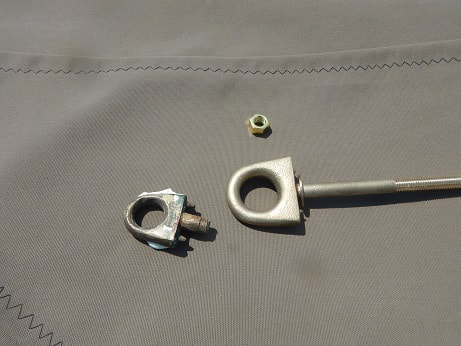
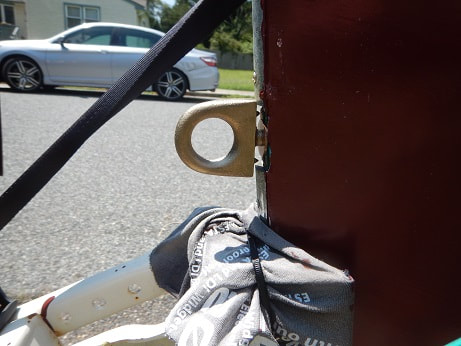
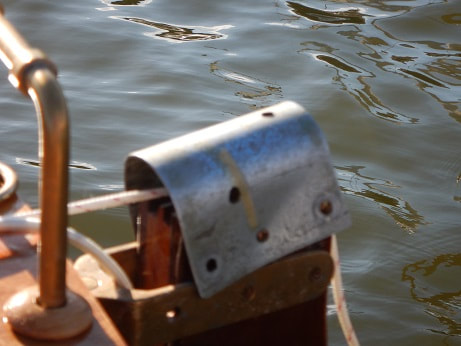
The Docks at Kennedy Park are very nice, a very boat friendly recycled plastic. The only part you have to worry about are the galvanized metal hoops that secure the dock to the pilings. As Spark accelerated, she chose the one thing that would hurt her, the metal hoop, With a resounding clang, we came to a dead halt and I had to worry if I had stove in her bow. At the time the damage appeared to just be a few scratches and scuffs in the paint. It was not until I went to get her up the trailer that I found out what had happened. The bronze bow eye came right out of the bow with no resistance as the threaded part broke just inside the stem. Which leads me to today, I finally installed a new bronze bow eye, this one from Buck Algonquin. It's stud looks about the same size as the one it replaces, but the eye itself was much larger, forcing me to cut the trim that protects the bow to make it fit. Of course getting up into the bow itself was no picnic, but I got it done and didn't get stuck.
0 Comments
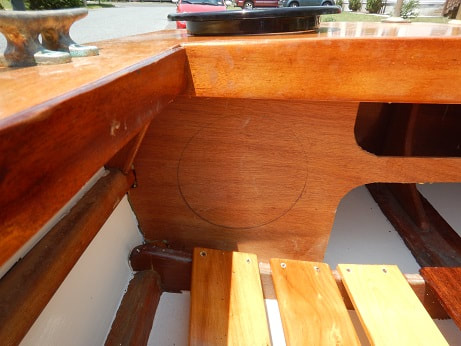
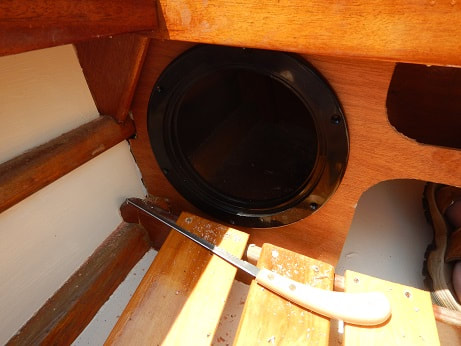
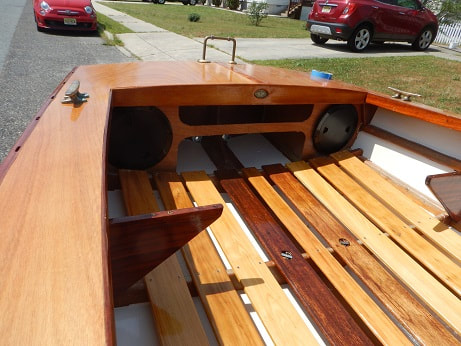
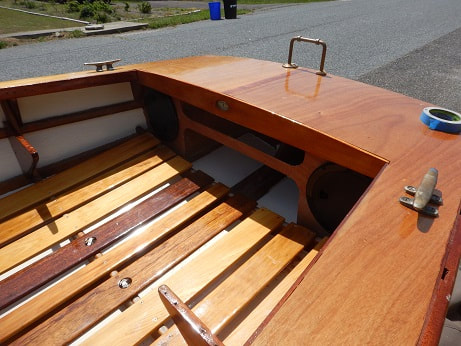
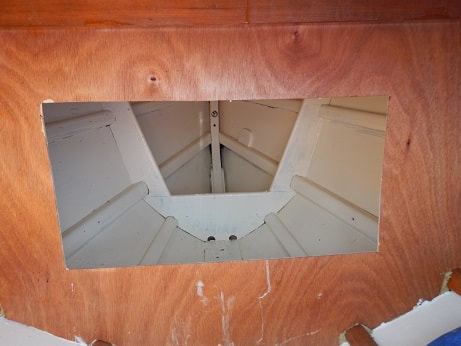
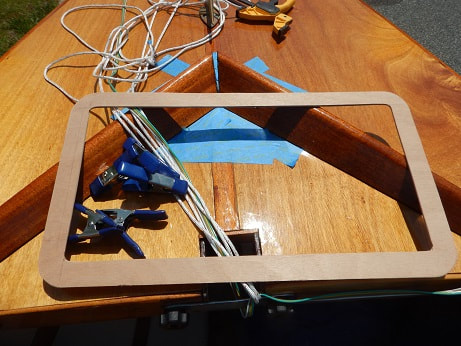
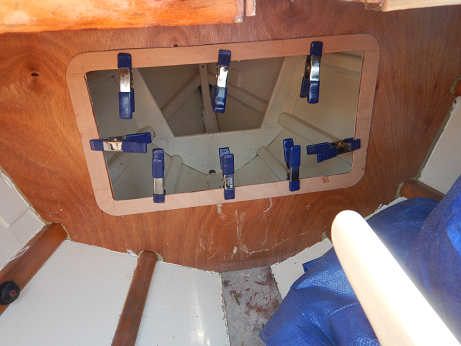
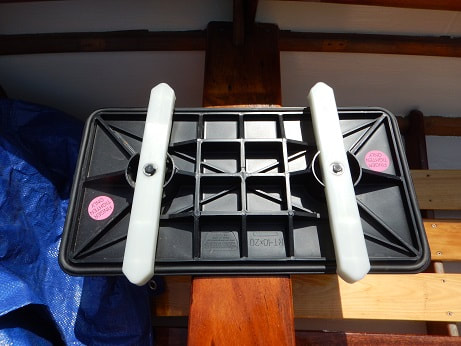
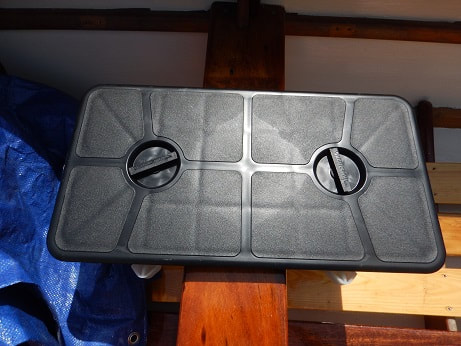
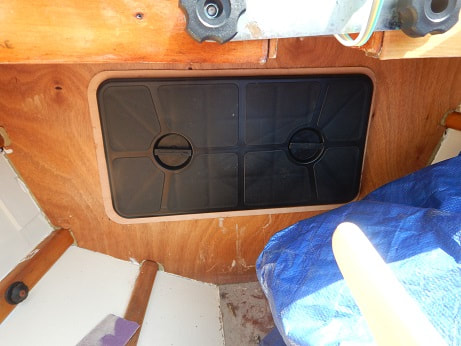
In a previous life several decades ago, Spark was a no frills racing dinghy. If it did not make her faster or comply with class rules, it was not on her. Many decades later, I am turning my GP 14 into a leisurely day sailor and camp-cruiser. Lacking her original buoyancy bags I had to find a way to keep her afloat if she should get knocked down, swamped, or even capsized. Important things to worry about! Last fall, before heading off to St. Micheals, I installed watertight bulkheads forwards and aft. Well, the aft one was very watertight as it lacked any method to access the space within and the forward one had a huge hole cut into it for an access hatch I never had time to build. I put them on my punch list for spring. With spring, and now summer, being here, it was time to put an end to this vexing issue. At the stern I cut two holes into the buoyancy chambers I had built. An 8" diameter screw in access port fit the bill perfectly. All it took to install was a hole saw and a slender Japanese "keyhole" saw to make the round opening in the thin plywood. Once I get a few more coats of varnish on the wood, I will seal and screw them into place. These ports allow me to keep a few things I may need readily available while underway. You never know if you will need a first aid kit, identification, registration, or any other myriad number of things. All I need to do is twist the hatch and it unscrews and pops open to expose the watertight chamber within. The forward bulkhead was more worrisome. With the large opening I had left in it reducing my hatch choices significantly. I originally had planned to build a nice wooden hatch that would match the okume plywood, but building one strong to seal perfectly was not something in my repertoire of skills. The other problem was that any hatch that would fit the opening would impact against the mast a scant 11 inches abaft it when opened. Sailing the internet for ideas, I found a "compression hatch" at Fisheries Supplies out of Wisconsin. Unlike a hinged hatch or even the screw in access ports already installed, a compression hatch uses two arms connected to the back of the hatch and controlled by corresponding knobs to squeeze or compress the seal of the hatch against the bulkhead. Pretty clever really. While they had a hatch that fit within half an inch of the opening, I wanted to make it a tight fight and strengthen the bulkhead to resist the pressure. I produced a frame of the same ply and epoxied it into place, cleaning up the opening and giving the previously plain bulkhead a little bit of interest and strength. As all the hatches are black and slightly hidden beneath the decks, they do not stand out too badly against the varnish. Whatever the looks, the certainly make up for them with utility. As I am going to use Spark for cruising about, being able to store things like drybags full of clothes and sleeping bags, food, and a boomtent out of the weather with little change of them getting soaked in the event of the worse case scenario, I think the forward hatch is up to the task, no matter what it looks like.
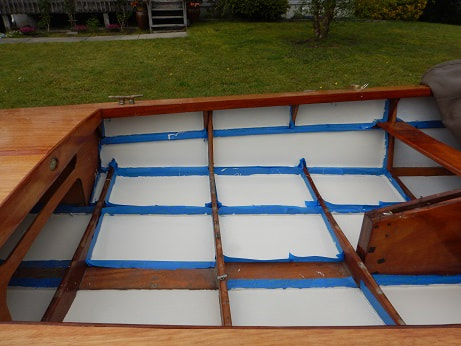
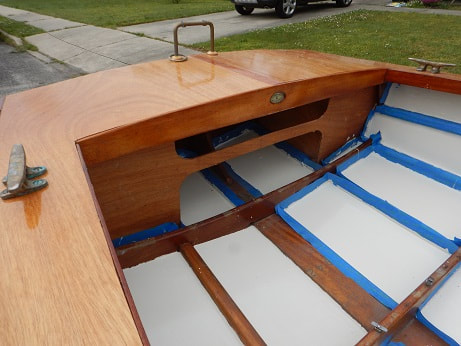
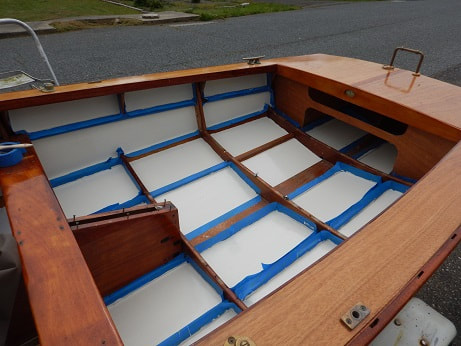
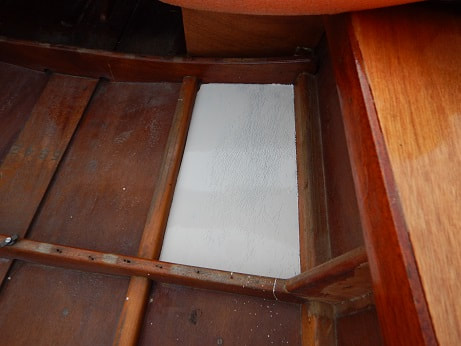
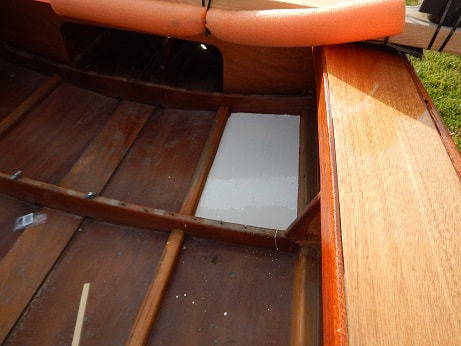
https://www.fisheriessupply.com/armstrong-nautical-rectangular-watertight-compression-access-hatch-11-in-21-in If it doesn't move: polish it, if you can't polish it, paint it, if you can't paint it, Salute it. Thankfully, I can paint Spark, I would feel odd saluting my ancient GP14. After all the cleaning and primering, I am finally halfway done painting the bilge and ceilings of my little boat I would have gotten the whole thing done, but I was kind of painted into a corner as I needed to let this paint sit and harden before putting any weight on it. Rustoleum's "Oyster white" definitely looks the part on a fifty-five year old boat. Just "antique" enough to not be jarring to the senses. Once I have the floorboards back in place and the foam flotation finished up and screwed to the sides, there will not be much to see, just enough to make her look clean and cared for.
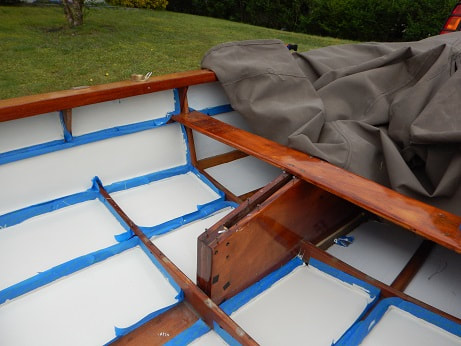
One of the many truisms of owning a wooden boat (or any boat) is that maintenance is never done. There will be always something to work on, replace, polish, or paint. This is what happens when you use a man made object in a corrosive medium such as saltwater. Combine that with the age of boats such as Spark, and you can see why there is always something that needs doing. After 56 years of protecting the interior of my GP, the varnish covering the plywood, ribs, and stringers was not looking so good. The parts covering the plywood were especially rough. With this in mind I decided a bit of "oyster white" from Rustolium's marine line would spruce everything up nice and ship shape. The plan is to leave the ribs, stringers, and hog varnished, but just paint the plywood. It means a lot of masking, but leaves all the beautiful solid wood in view while protecting the more vulnerable ply. How she looked originally (after removing the seating and sole) I only got one coat on one section before the bugs sent me screaming back into the house. I think the gnats had been starving all winter as they were out in force tonight and looking for blood. Unlike Mosquitoes with their fine hypodermic needles, these little buggers tear off a chunk of skin and suck up the blood. They are lots of fun at parties. I know what I am doing tomorrow.. and probably all next week as I get Spark ready to go back in the water for June.
After all I went thought to get Spark seaworthy and ready for the Mid-Atlantic Small Craft Festival here in St. Michaels Md. It all came for naught. This long weekend was punctuated by strong winds and almost Small Craft Advisories as the forcasted 10 to 15 mph winds with gusts to 20 turned to 15 to 20 with gusts to 25. Not the place to take an over canvassed boat that weighs all of three hundred pounds.
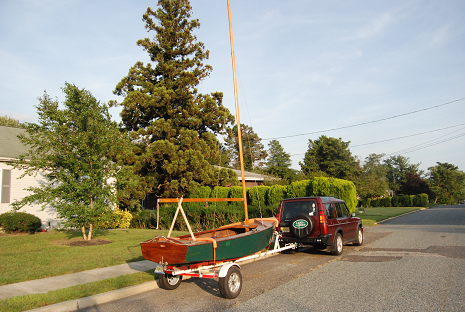
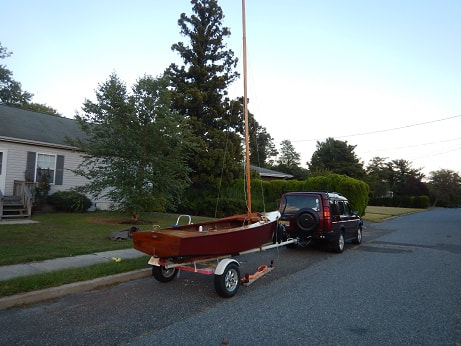
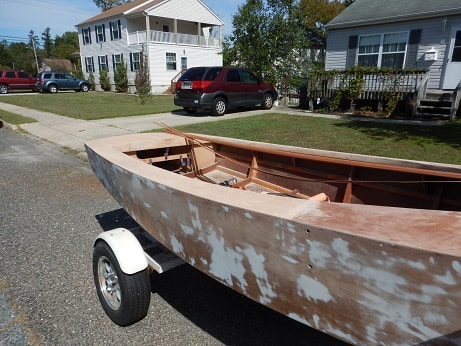
A three hour window of decent wind tempted me into going out, thankfully I did not make it far before something broke, something important, the rudder. Six screws hold the tiller to the rudder head and all but one let loose, leaving me with just enough control to put her into the wind so I could lower sails and row back. At least it didn't break a mile or five from the dock A year ago, after "unearthing" Spark from the barn she had been stored in for almost 30 years, I took this picture. At the time, all I had done was give her a bath, fix the mast and rigging, and touch up the paint where it had peeled. This was all done before heading to St. Michaels MD for the Small Craft Festival. She was rough, she was barely held together, but she sailed well. She also got completely ignored due to the condition she was in. I did this on purpose so I could do this: Same Spark one year later. Completely sanded down hull, new paint, almost all new varnish, and a new deck give her an almost completely new look.
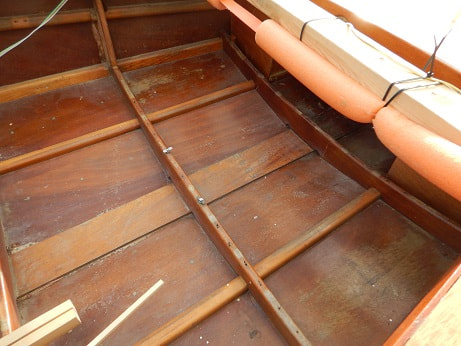
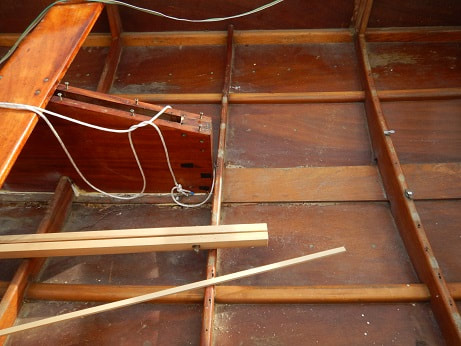
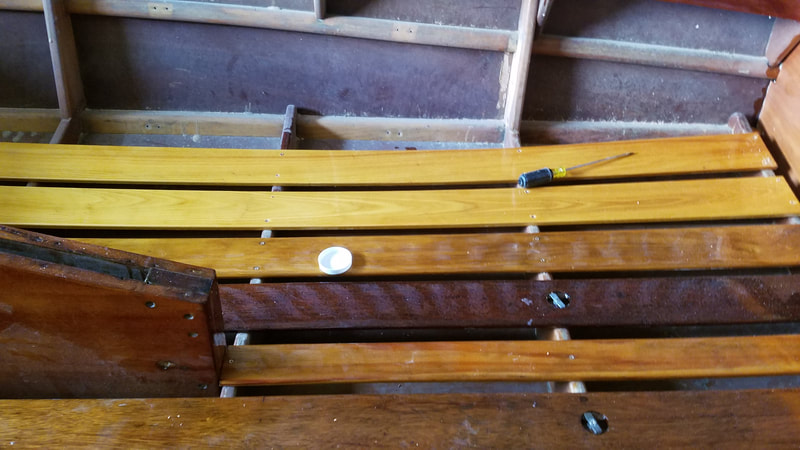
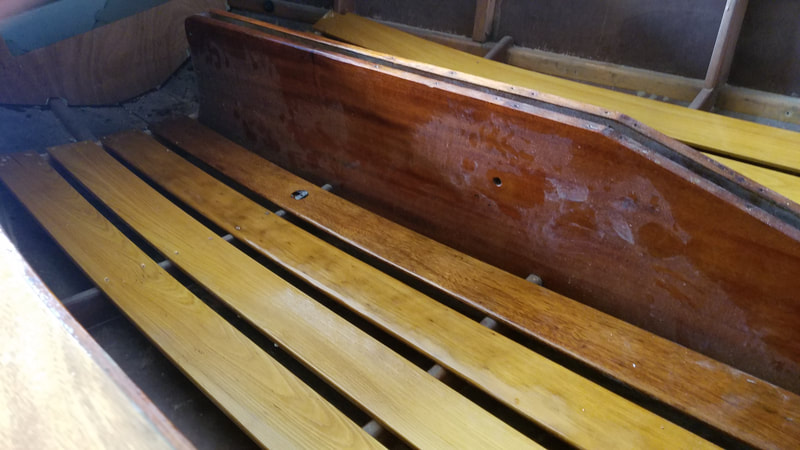
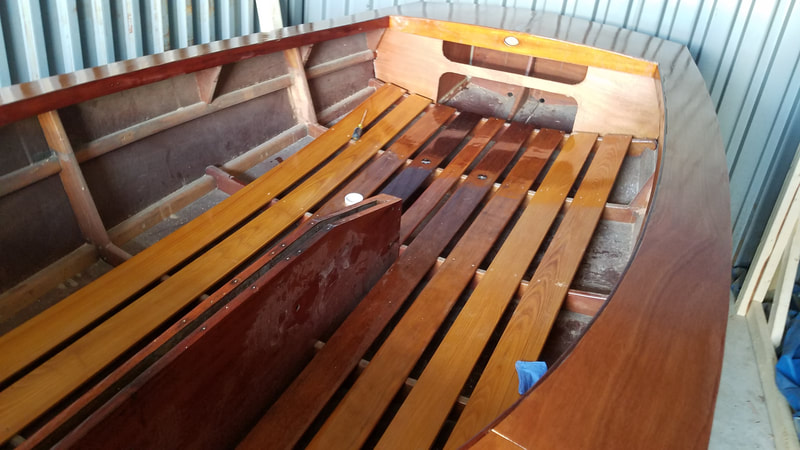
After spending all summer getting Spark into shape in time for the Small Craft Festival St. Micheals, the one thing I did not have time to do was strip, paint, and polish the inside of her hull. This means she is still wearing the original varnish from fifty-five years ago.. and it looks it. Right now she has her floorboards, centreboard trunk, and the new flotation compartments I built, and they look good. The old varnish, not so much. Oh well, gives me something to do next year
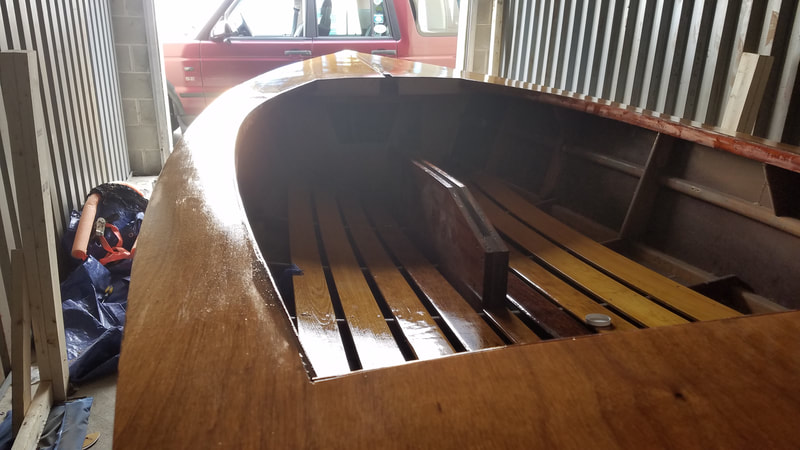
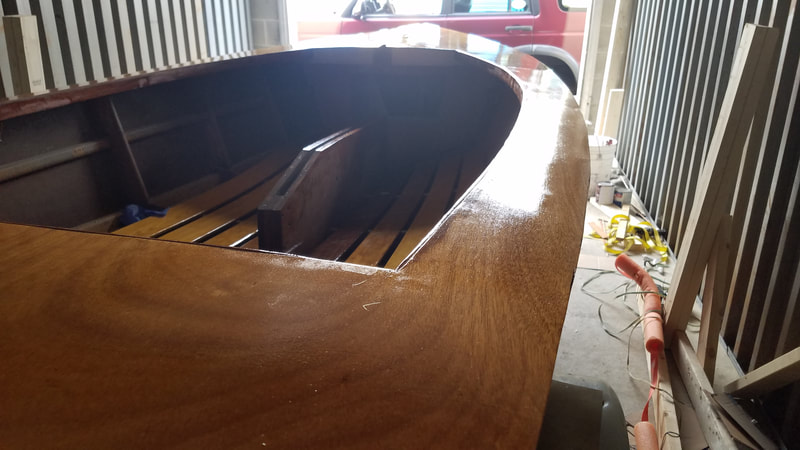
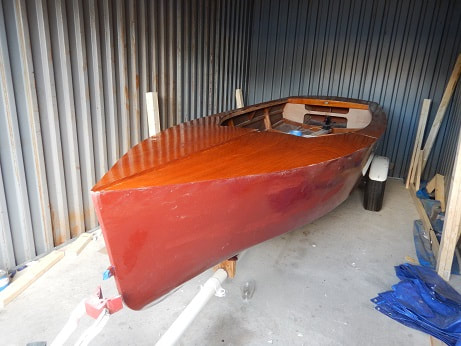
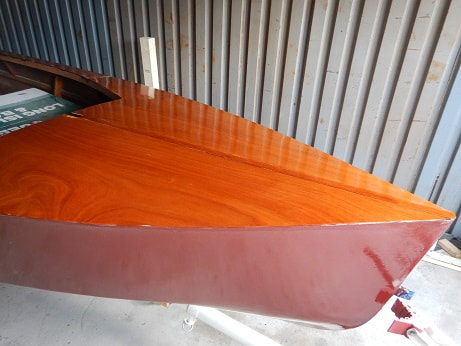
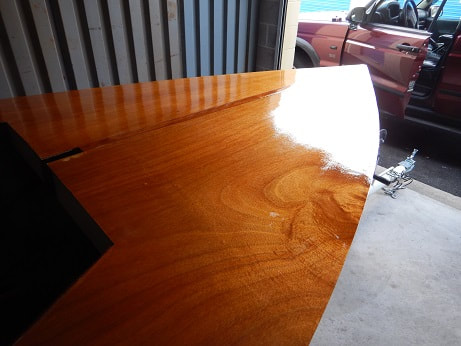
Far from done, but getting closer every time I touch her, Spark's decks are fairly glowing beneath a coat of varnish. She still needs another three coats before I can attach the rub rails and splash board, but that is only a couple days away.
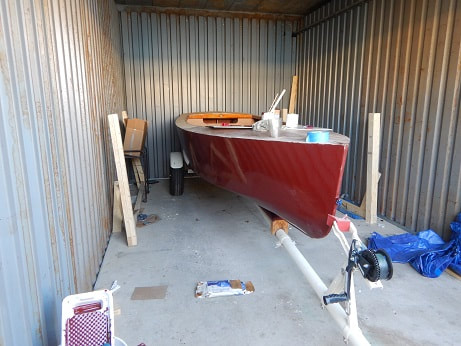
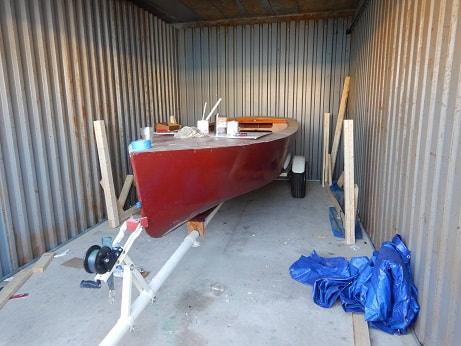
After a summer of sanding, filling, sanding, filling, sanding some more.. Spark now sports a single colour on her hull. While it appears to be bright red in the pictures, it is more a dark burgandy. George Kirby graciously supplied his "See Red" paint (after I paid for it, of course) to the cause. She still needs a good rubbing down with some fine grit sandpaper and a second coat, but you get the idea! Now all i need to do is sand and varnish her decks and finish assemby. Spark is coming back together!
Ok, I admit, not only was that a bad joke, but it might offend the lovers of Halloween.
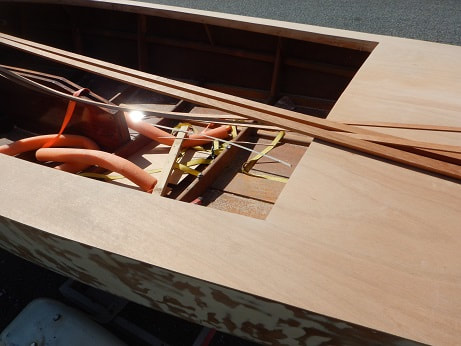
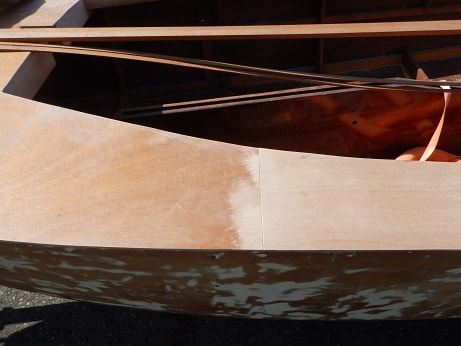
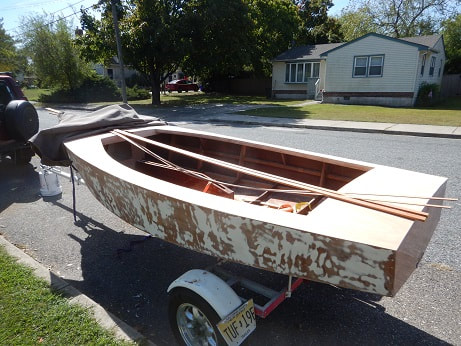
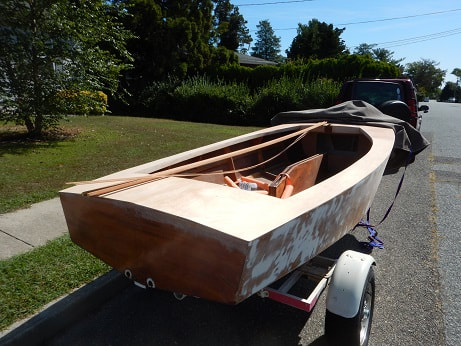
Good news is: Spark has her decks secured, shaped, and fitted properly. All I need to do now is apply 7 coats of varnish to the deck, apply three coats of paint to the hull, and install all her bright work and I can go sailing. So, a week's worth of work to go! |
|
