|
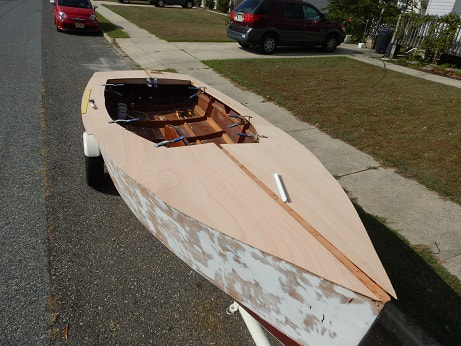
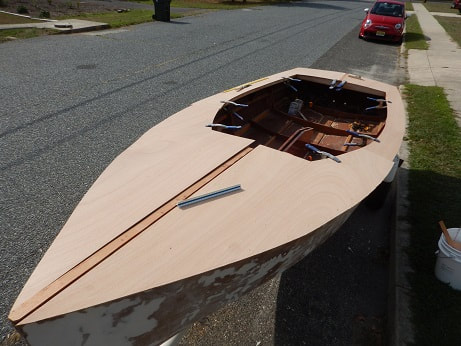
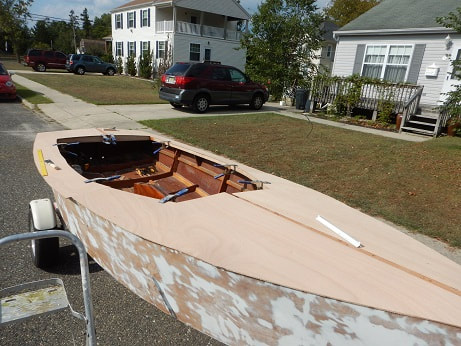
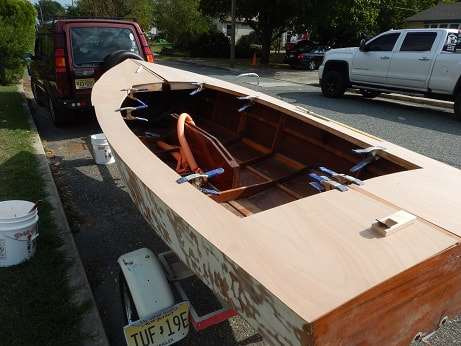
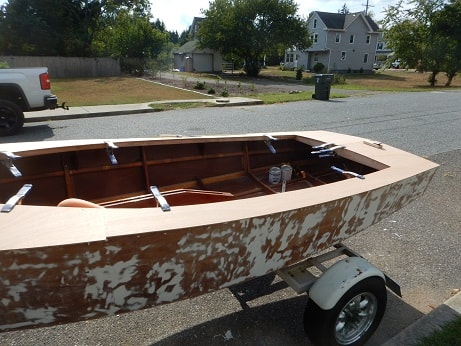
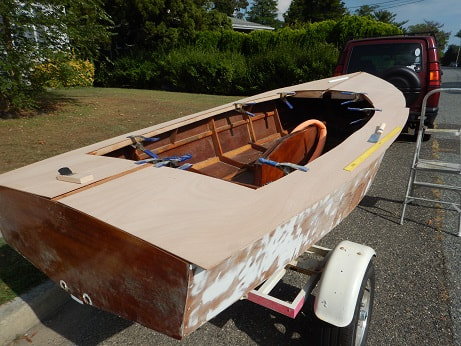
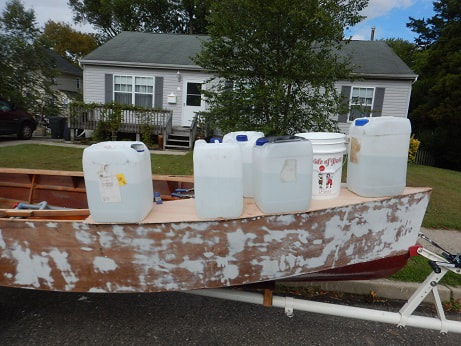
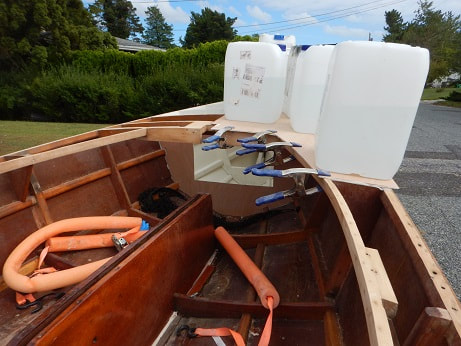
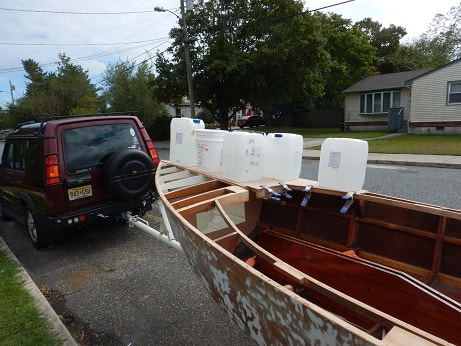
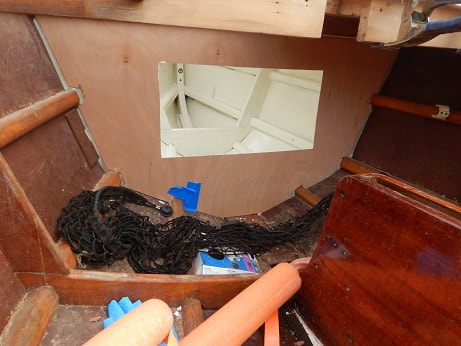
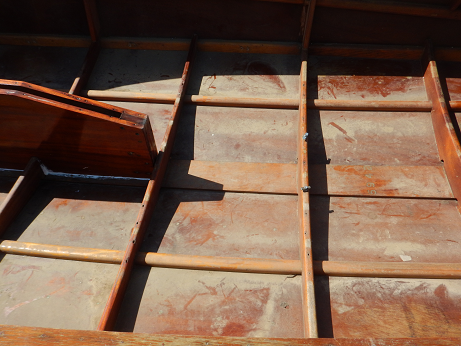
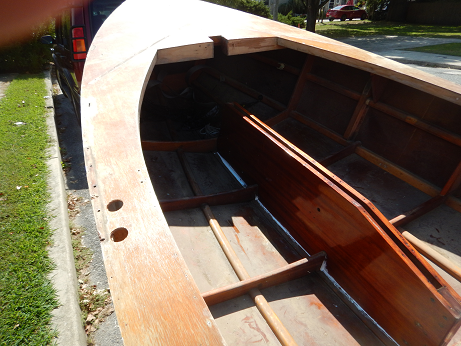
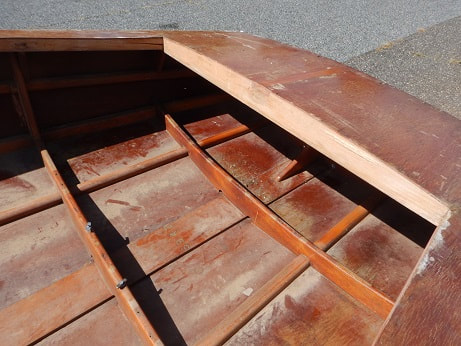
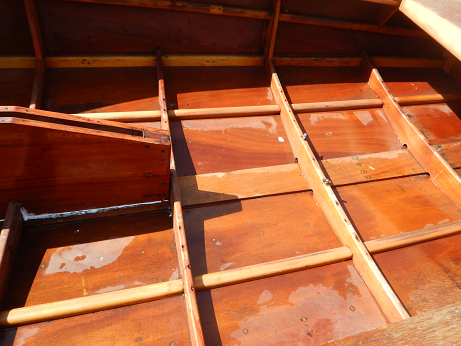
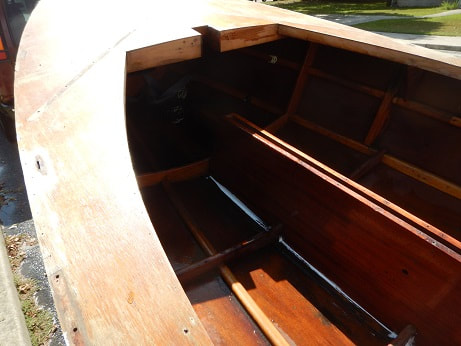
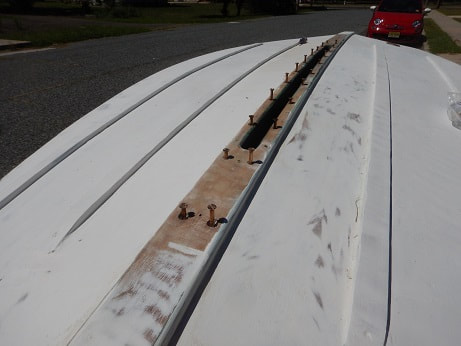
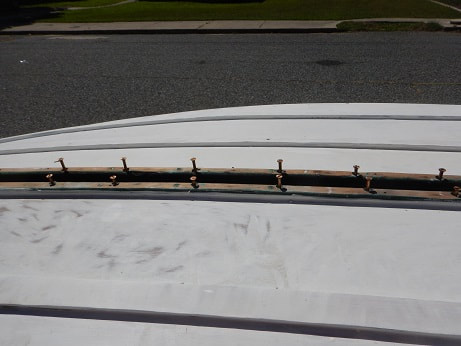
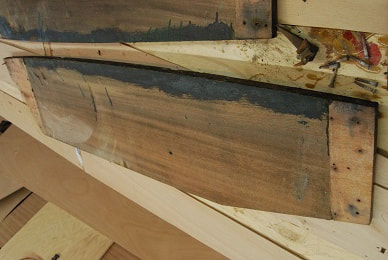
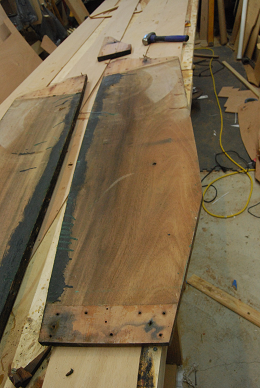
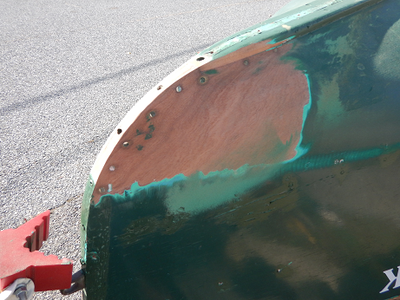
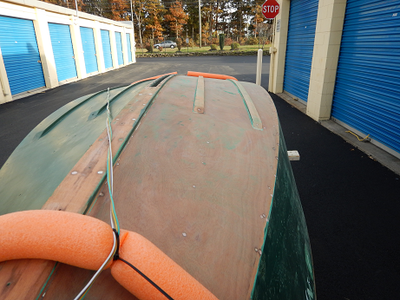
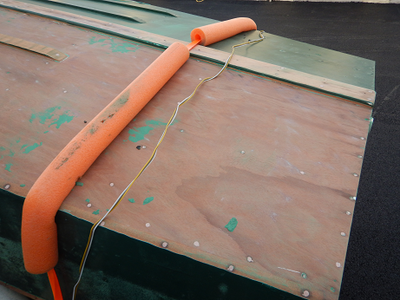
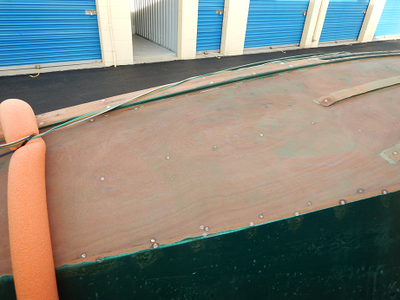
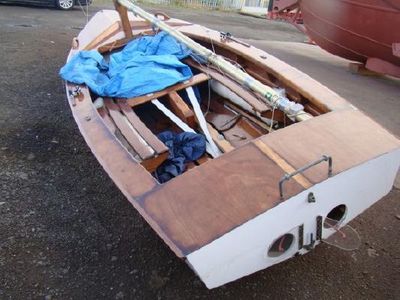
It has literally only been four days since I ripped the deck off of Spark and here she is getting a new and improved version. For starters, the original deck was made up of Six parts. Split in half lenth wise, my GP would have a bow section, a midships section, and a small stern section. I shortened that down to two. The seams between the sections bothered me immensely. As I was missing the forward and stern buoyancy bladders, and I hated the ones beneath the seats as they intruded into the area I slept in when over night "camp cruising", I decided to build in bulkheads fore and aft to act as Buoyancy Chambers and for storage. As I am also planning on painting her cockpit this coming year, I completely covered the areas behind the bulkhead in Rustolium's Marine Paint "Oyster white", a very nice antique like white. First, the rough cut decks. So far looking pretty! Now for the bow section after I glued them down and used both spring clamps and "water clamps" in the form of Five Gallon Containers filled with water to hold the decks down while the epoxy dried. And of course, a "beauty shot" of the forward buoyancy/storage compartment. I am still waiting on some trim before I build the doors to seal them off. Time is ticking for St. Micheals next month. I know I can make it, but the push is on to get everything back together.
0 Comments
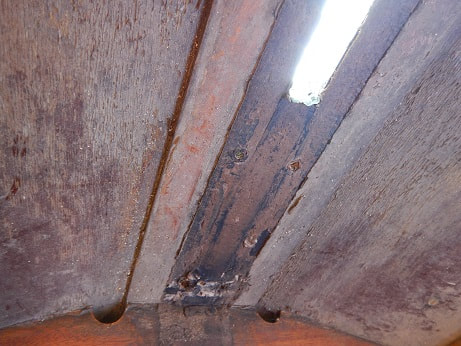
Today was an easy day, I knocked the deck off of Spark. A handy dead-blow hammer and a miniature prybar made quick work of getting the plywood off in more or less one piece. I did lose a couple of small parts up in the bow, but those will be easy to trace out from it's mirrored twin. While the GP14 is not a common sight in the US, I am sure being able to see the supports for her deck is a rare one. Being a "Series 1" boat, the was built just as the very first boats were back in the middling to late 50's. This means rather robust for her humble origins and intended usage. Roy Nettleship, while manning the Association stand at the boat show in 1969, was asked how long a GP14 would last: “I’ve no idea, the design’s only 40 years old!”
After almost a year upside down on her trailer Spark is finally upright and clean. I still need to rip off her deck and replace it, but all the bronze keel trim is done and on and I pressure washed out 30+ years of filth. Having sat in a barn since the mid to early eighties, the dirty inside Spark not only was not only filled with a film of filth, but it was extremely hard to remove. Most of her internal varnish is intact, but this winter I will doing some sanding and scraping so I can paint over it in "oyster white" to clean her up even more and make the bright work pop even more. Dirty Spark Clean Spark
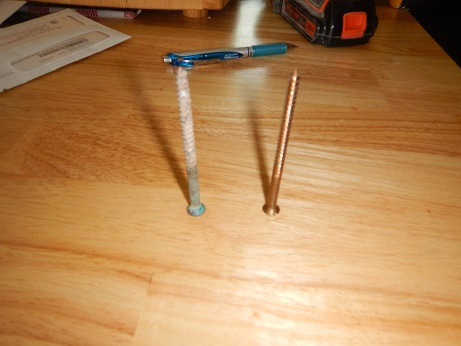
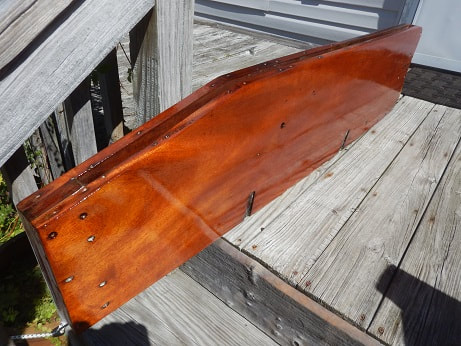
That is how many three and a half inch bronze screws hold the centreboard case into Spark. Today, after cleaning it all up, repairing it, and varnishing it to a high lustre, I re-installed it, by hand, with a straight slot screwdriver. My wrists are sore, but the dirty deed is done. Hopefully tomorrow I can finish primering the bottom so I can get her painted this week. While I am sure I could have reused the old screws, they had not turned red from copper, It was worth the price of admission to safe than sorry. Having the centreboard case come loose while sailing would be a nightmare. I know it looks really bad under there, but rest assured that most of that is just dirt. Spark needs a bath badly as I did not get a chance to scrub out the inside of her hull last year before putting her in the water.. so that is 30 years worth of grime. Even so, I had to scrape out the old Polysulfide sealant that spent decades keeping the water out of spark. First by sharp scraper than by battery powered sander until everything was smooth and ready for some "lifecalk" After I got everything cleaned up, I had to use the jack to my land rover to get the case into place. It's not that heavy, but it is awkward and I was working alone. The Hydraulic jack lifted it into position easily so I could get the screws in. Due to repairs to the case, I had to drill pilot holes to the first two screws. I damn near twisted my arms off getting them in. It is good that I bought twenty-five screws as I ruined two of them installing these two. Now I only have one left. I hope I never have to use it Once Spark is upright again, I will show off the case in situ, for now I can only offer this brief snap shop showing the freshly varnished mahogany nearly glowing in the sunlight.
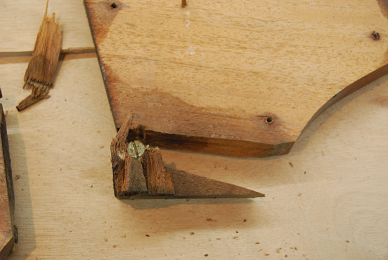
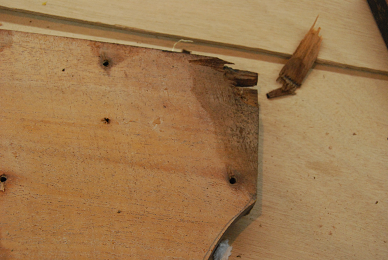
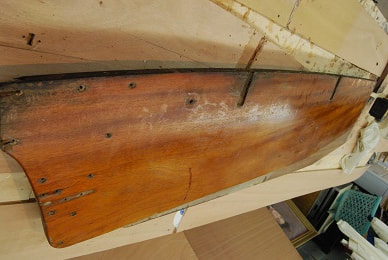
It's been over 6 months since I last did anything with Spark here on this site. This is not to say all has been idle, just very cold. I have completely stripped her of paint and trim and have been busy sanding off varnish, buying new parts, and doing repairs. Repairs are what brings us to today. After pulling twenty-two 3 1/2" screws out of her bottom, I pulled the solid mahogany centreboard case out of spark. The case was the source of the leaks I had during the week she was in the water down in St. Michaels. Once I pulled some of the screws holding it together, I found the glue had perished and it basically fell into five parts. It should have fallen into four parts, but time and abuse had taken it's toll on one of the inner parts and a corner of it broke off when I removed it from my GP. I am not worried about it at all. Not only was it a very small part, but it is below the level of the floorboards, so once glued back into place and varnished, it will be completely unnoticeable.
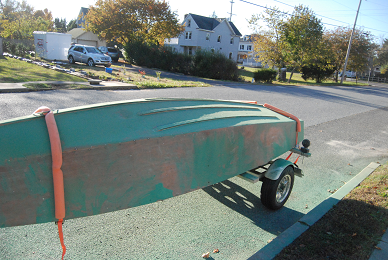
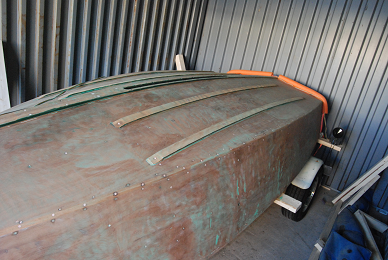
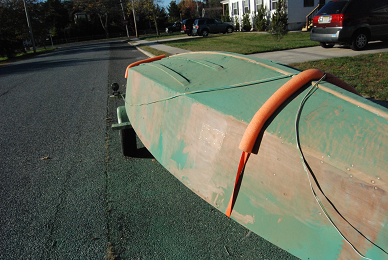
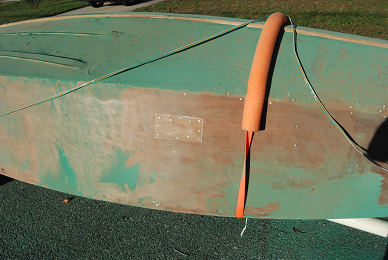
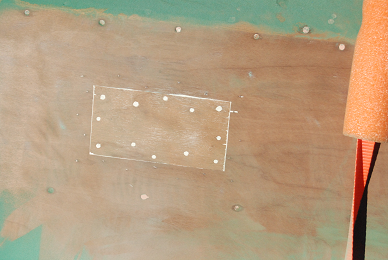
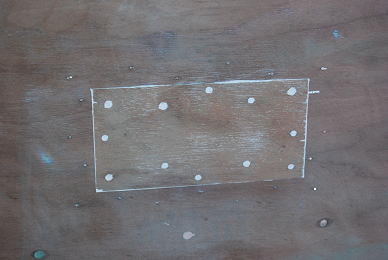
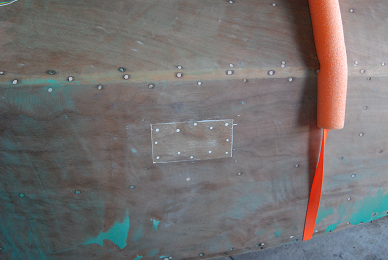
One of the things that did worry me was the complete lack of sealing on the inside of the case. Whenever spark had been in the water over the past five decades, that bare wood was directly exposed to the water she was floating in. As she was only ever used a few hours before being taken out, it never had a chance to do any damage, but as I intend to do some "camp cruising" Spark will be in the water for days, leaving more time for exposure to occur. I will be epoxying the inside the case and varnishing the outside. As for the parts you see, they were in amazingly good shape. Some sanding and a small bit of filling will see the case looking good as new. Then I will get to reseal it and install it back into Spark for another fifty years of use. Thankfully being Green is something Spark will not have to deal with anymore. Today I finished up almost all the rough sanding on her hull. Save for a few nooks and crannies I could not get into, you would never know my geep had been green. All goes well, I start refastening her this weekend. Interesting enough, I knew my GP had some damage at one time. I found a repair panel on the inside of the hull, but could find no trace on the outside. I found it under three layers of paint. As Spark only had four layers, she must have sustained that injury early in her racing career. It looks professionally patched, so I am not going to touch it beyond fairing it back into the hull.
I need a new hobby that involves less sanding. Today I finished up stripping Spark of all her hardware. When I was done she was a bare hull that I then rolled over on the trailer and got to work on sanding. A pair of 2x4s screwed into the bunks provided plenty of support on my GP's mostly flat decks. Then it was time to break out the orbital sander and discs. A face mask was a necessity was the dust was thick as I went through dark green, light green, blue, and finally white primer to get to the mahogany ply beneath. The wood was in surprisingly good shape beneath all that nasty groddy paint. I found no dark patches denoting rot, nothing was soft, and it was not even badly scratched or gouged. I will have to remove and replace all of the screws though. In the few I removed from the cockpit area, they had turned red from leaching all their zinc over the years. Once that happens they go from being a tough bronze to a brittle version of brass. Last thing I want to go is hit something or take a wave wrong and break a few screws that hold the bottom on.
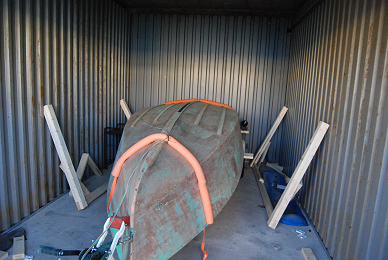
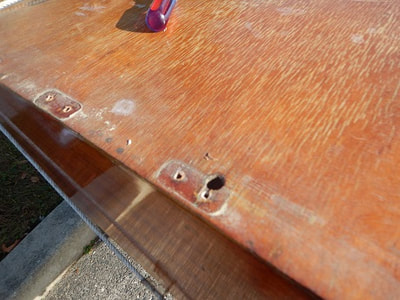
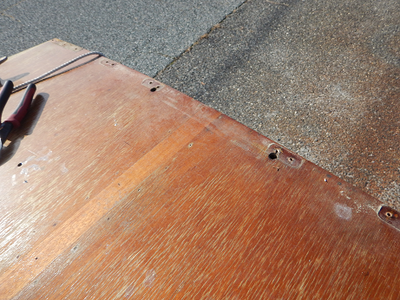
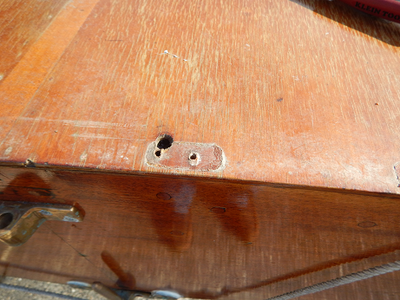
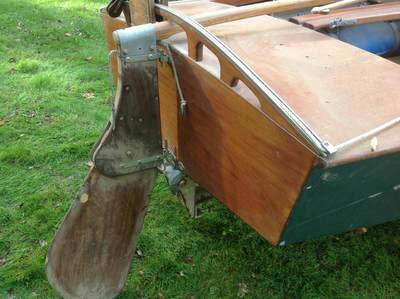
With foul weather approaching it was back into storage until next time. I am a quarter done, so hopefully the stripping of paint will not take too long. With the sailing season done for the year and Spark's successful debut at the Small Craft Festival in St. Michael's MD over, it's time to get down to brass tacks and admit the truth.. I have a lot of work ahead of me. My "GeeP" needs to be stripped down to a bare hull, the paint sanded off, the decks lifted, and plenty of paint and varnish applied. While she has good bones, the paint on my boat is not good. Years of racing has left deep gouges and scraps and indifferent storage for the past 3 decades left what was left oxidized, faded, and in just poor general shape. I am also not a fan of "grass green" The decks on my GP are also in poor shape. A lack of varnish has allowed them to dry rot while she was stored in that barn. You can hear the very fibres creak when any weight is put upon her decks. Just slapping varnish on them would be akin to lipstick on a pig.. First step is a complete strip down of everything off of the hull. This took the better part of a full day as all the hardware came off, her floorboards and seating came out, and I pried the half round rub rails off of her gunwales. Surprisingly, she does not look any worse for wear in this configuration. It's no wonder nobody took any pictures of Spark at St. Michaels. With everything off and out, there is a surprisingly large amount of space in such a small fourteen foot boat. In stripping Spark, I discovered something interesting. The early GPs had a bronze "horse" across the stern. This was a tubular affair that went up and over the tiller for controlling the sheets that tie the boom to the boat and allow for letting the sails out or pulling them back in. My boat had the later style wooden horse that went all the way across the stern with an adjustable traveler. In pulling this assembly off, I discovered that my GeeP originally came with the older (and prettier) bronze version, but was later converted to the latter system for more control when racing. Of course I am going to fit the older system back into place. I already have enquires out to either get a used one or to produce one anew. It was the holes in the deck beneath the wooden horse that gave it away. Here is how it looks now with the full width horse and how it should look with the bronze affair.
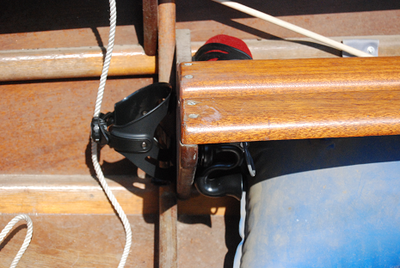
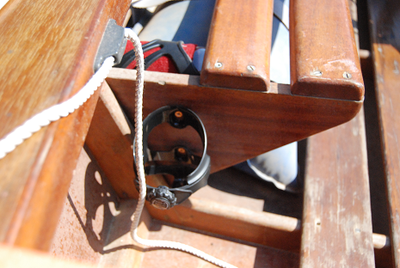
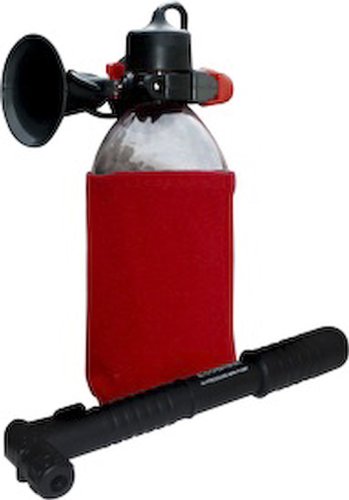
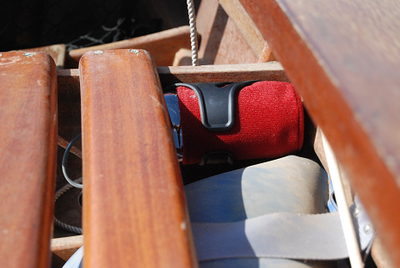
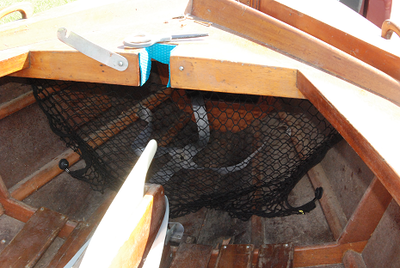
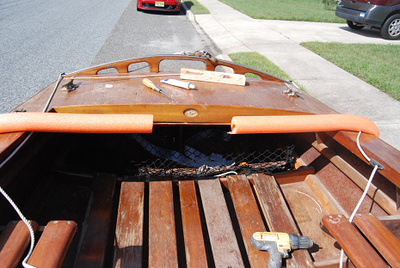
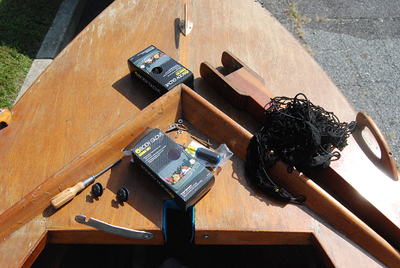
While I have long been interested in cars, usually little sports cars from Europe and Mountain Biking, my first joy was boats and sailing. Due to these widely ranging interests, I can thankfully think a little out of the box to solve some issues on Spark. As an ex-racer, my boat has little no storage, not that any GP ever did -they are only 14 feet long. As a General Purpose boat though, the ability to go most anywhere is a given. To follow that directive, I needed to think outside of the (boat shaped) box to my other hobbies. Anybody who was ever remotely serious about bicycling will tell you that staying hydrated is very important. The only way to store liquids on a bike are frame mounted bottles. To make it easier to keep from getting thirsty while sailing, I decided to steal that concept and purchased some frame mounted bottle holders from the local bicycle shop. Being made of black plastic and adjustable to fit any size water bottle, these should keep me well hydrated when I cannot reach for the cooler. I screwed them into the supports for the benches closest to the stern. One bottle on each side should do nicely. On the inside of the support you can see a similar mount. I am using this to keep my air horn close at hand if it is needed. The horn itself is interesting. it is refillable from a standard bicycle air pump. One of my pet peeves are "one time use" items where you use them and throw them away. The CO2 canisters used by most hand held air horns bug the hell out of me. Next on the list is storage netting. While things will still need to be bungied together, keeping items up in the bow or under the stern is always a big deal on a small boat. Borrowing once more from my sports car hobby, I trekked over to the nearest automotive store and bought two trunk nets. These woven nets made of a bungee like rope allow me to stuff all manner of things under the decks without them working their way out in rough water or in the event of a knock down.
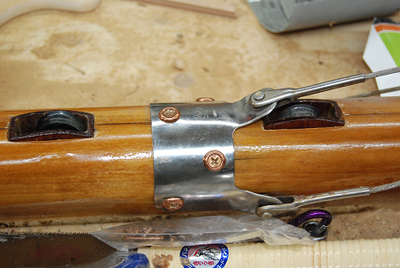
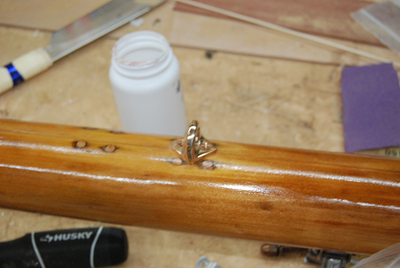
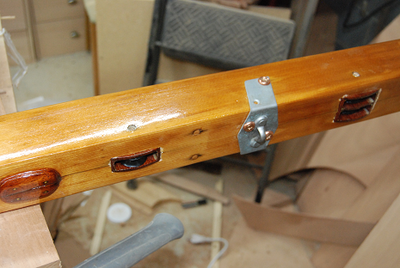
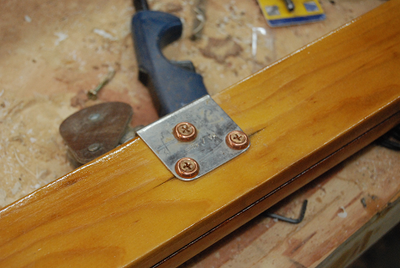
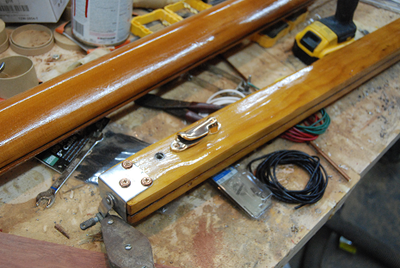
After many long days of work, stripping the spars of their hardware, sanding them down to bare wood, repairing splits and holes, ordering new hardware, and varnishing, I have finally completed the Mast and Boom. It was not an easy task and my hands are bruised from putting many screws into the wood.
One of the things that I noticed, that I thought I would hate, is the contrast between Spark's original stamped aluminum hardware and the new bronze screws and items. Bronze against polished aluminum looks wonderful and I am going to have to rethink about going all bronze in the future. One thing that did save my behind on several occasions was my habit of ordering more than I needed. a year ago I bought a lot of One Hundred #8 bronze screws and decorative washers. I think I bought them for Flirt, my SeaSprite 12, but I could be wrong. In this regard, I used quite a few in putting all the hardware back on. These screws also use a specialized and very out of fashion screwdriver, the Frearson. While it looks a lot like a Phillips head, but it is much shallower with angled blades for a better "bite" on the screw when driving. I understand why Popeye has such oversized forearms now, he evidently was a boatbuilder before he became a sailor. If you read the post on the sheaves, you can see here how they look against the lighter wood of the mast.. |
|
