|
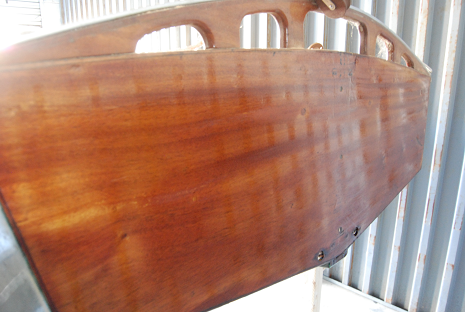
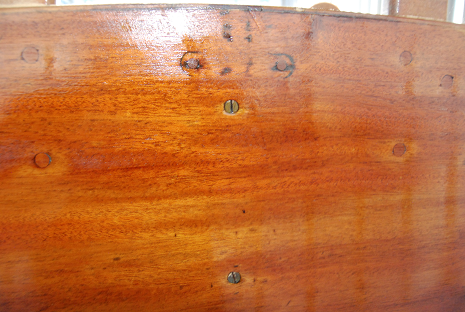
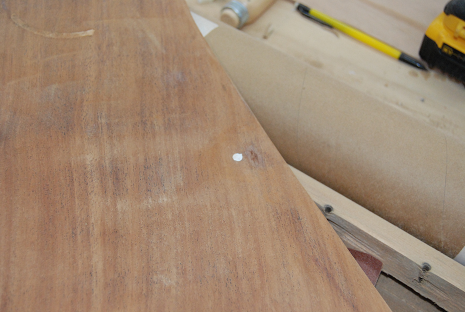
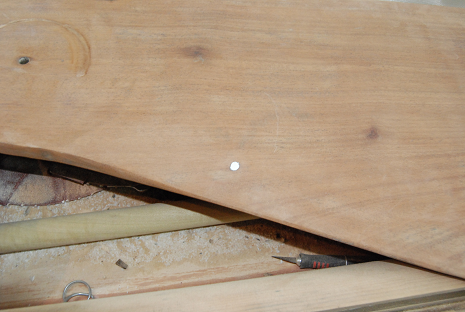
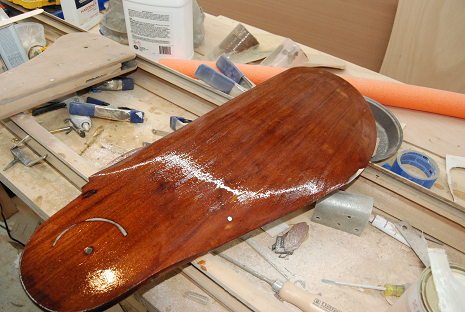
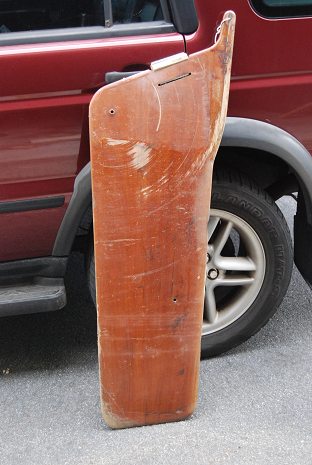
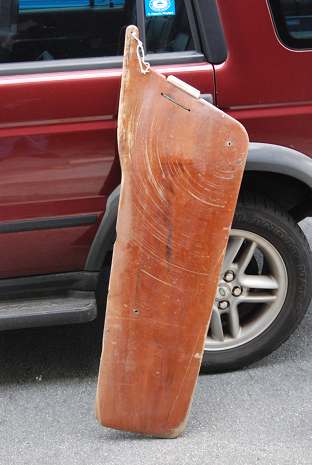
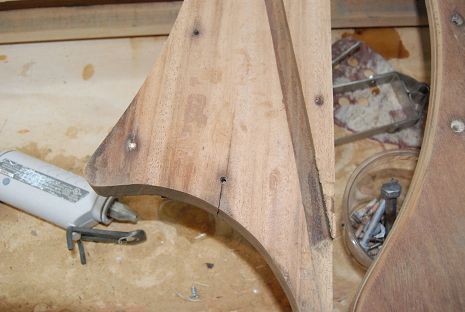
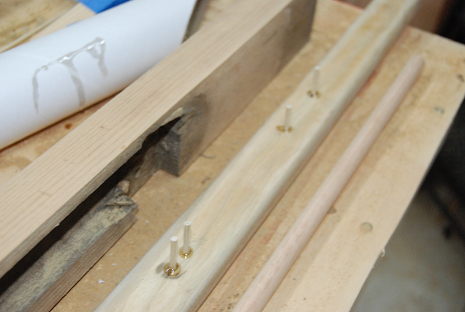
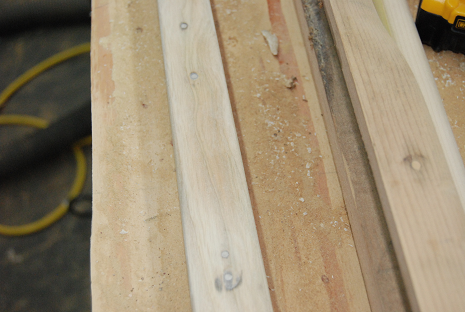
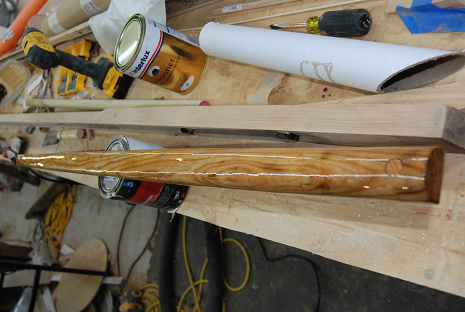
Mahogany is one of those woods that just looks right cleaned up, sanded down, and glistening under a coat of varnish. It has a wonderful reddish tone that looks rich and deep under the bright light of day. It particularly looks lovely with the dancing reflections of wavelets beneath it. If there is a proper wood for a stern to be, Mahogany is it. Spark's transom is solid Mahogany, a solid half inch thick board that spans the width and breath of her stern. It's a little battered, my GP earned her scars with a 55+ years of existence, the first part of which she was used exclusively for club racing, as most GP14s were in this area. To remove those scuffs, scars, dents, and such would require a lot of sanding and planing to get it pristine. I wouldn't do that to Spark, she's an old lady and those scars, marks, and scuffs are part of her charm. If I really wanted a pristine boat, I would have bought one. When last we left, I had filled in the screw holes from the old gudgeons and pintles with mahogany dowels, set in epoxy and hammer in before being cut off flush. I sanded them down smooth today and got the first of many coats of varnish down. You have to let each layer dry, so roughly 24 hours between coats. Ignore what looks like streaking, that is the corrugated metal of my storage bin reflecting in the fresh varnish. Firstly, the transom all smoothly sanded and ready to do. I did miss a bit of epoxy residue, but that should not make a difference. And now for the first coat of Schooner Varnish 96. I applied it very thin and "dry" to let the wood soak it in. It's been a long time since this transom saw any liquid, so I am sure the varnish was sucked in deep. Only seven or so coats to go before I can apply "Spark" to her transom and make it all official.
0 Comments
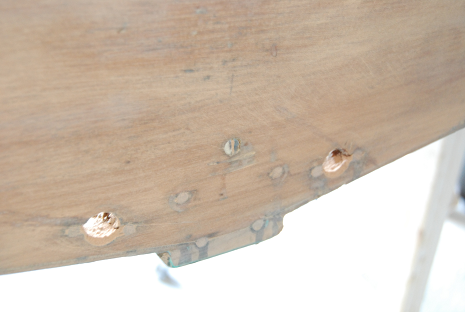
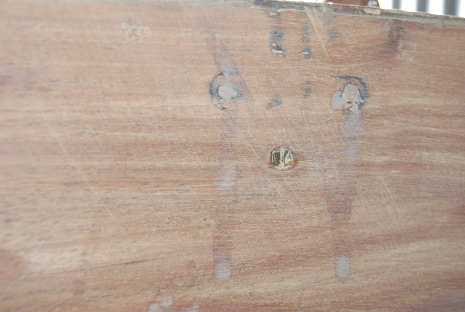
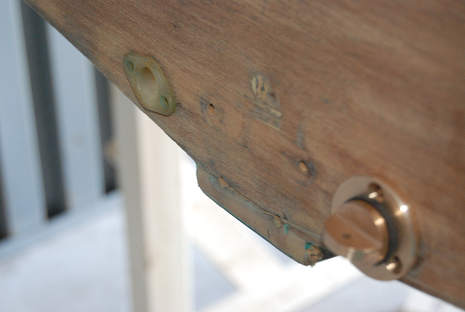
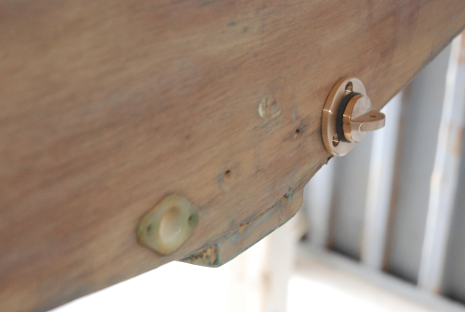
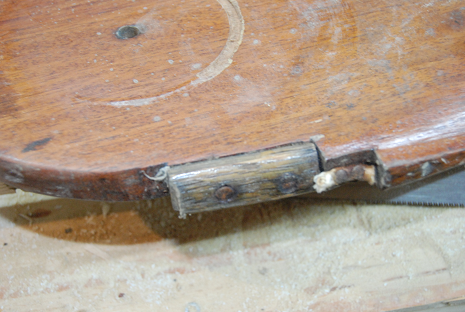
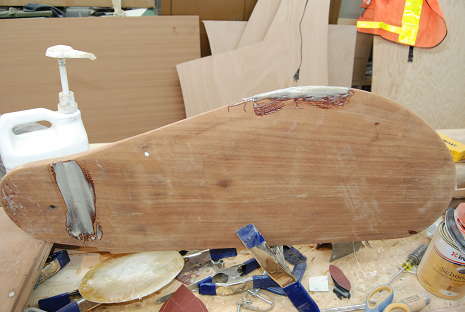
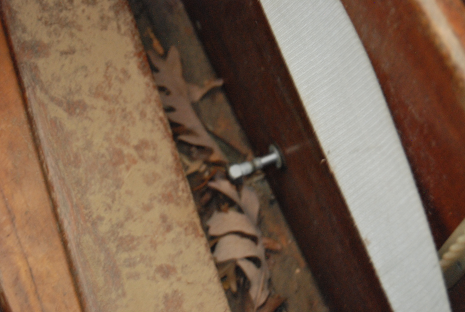
Spark, being a traditional built GP14, was fitted with stainless "holt allen" hardware. While perfectly serviceable, it failed to meet my expectations for how such hardware should look. Much of it, as fitted to a once racing dinghy such as Spark, was also undersized, or in the case of racing, "just enough" to satisfy any rules and regulations. I also prefer bronze of the looks of SS. Soon to be sitting proudly on the foredeck will be this lovely bronze cleat, reminiscent of the original holt allen piece, but more robust and with more style. While this week was not a good one for working on anything, or going sailing for that matter, due to the heat and the massive swarms of greenhead flies, I did manage to get some work done. One of the very few places I found any rot on my GP was on the stern where the lower gudgeon pin attached. The screws had obviously pulled out in the past and had been replaced with machine screws and nuts. Perfectly serviceable, but it did not keep the water out of the mahogany. The repair was easy, I drilled it out oversized and filled it with a mahogany dowel that had been covered in epoxy. Once it hardens, I can sand it flush and varnish over it. I think the new gudgeon pin will look just lovely on Spark's pert little polished stern. 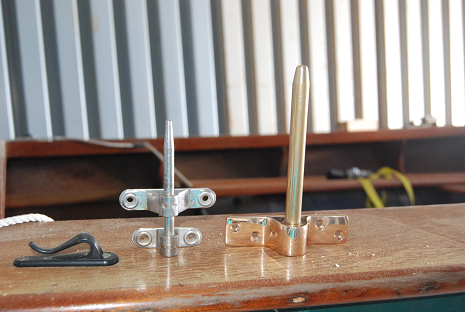 And last, but certainly not least, the drain plugs. The GP14 as designed has two half inch drains built into the stern to let water aboard escape when underway. All well and good, but of you put any weight on the stern and submerge them, water will come rushing back in. The plastic tubes were also past their sell by date and needed to be replaced. These two bronze drains are JUST the right size as the bottom of the flange just sits flush with the bottom. JUST! They can either be set to either barely drain by unscrewing them half way to expose a small drilled "weep" hole or removed completely to allow full drainage. Some racing "GeePs" use drainage flaps to more quickly drain the boat in the event of spray or knockdown. As I will be using Spark as more of a day sailor and camp cruiser, I would prefer not to let water in when I an trying to rest, so you will not being seeing anything like these flaps on her stern. 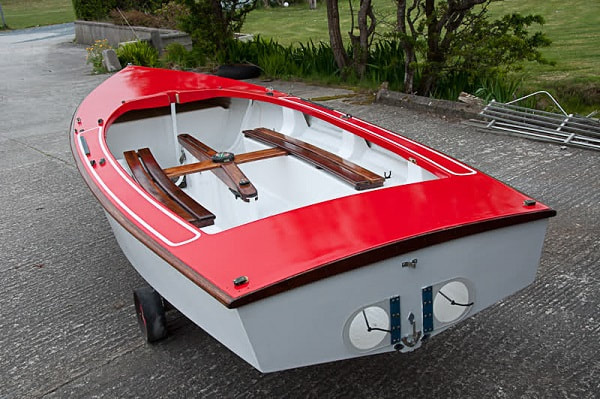 Things have been quiet. Not as in nothing is going on, but It is tough to give updates on multiple coatings of varnish and paint -no matter now nicely they are coming along! Things are slowly coalescing into something boat and trailer shaped though. To pass the time, I thought I would throw a few things out for all to see that I am indeed serious. Numbers: Save for lifeboats, Canoes, kayaks, racing and rec shells, surfboards, and dinghies used solely between mother ship and land, all boats in NJ are required to be registered. I got Spark's numbers made up by the fine folks at Chesapeake Light Craft ( www.clcboats.com/ ) make mine up in some white vinyl to contrast with Spark's dark green hull.  And for a bit of dry humour, as I own two sailboats, both of which are on trailers, I had a pair of license plate frames made up. 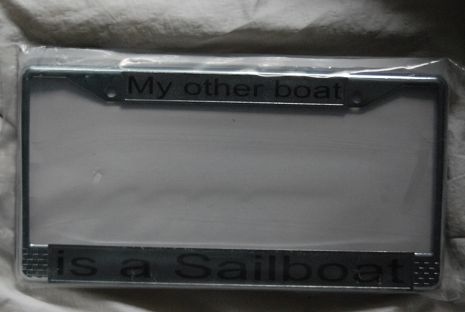 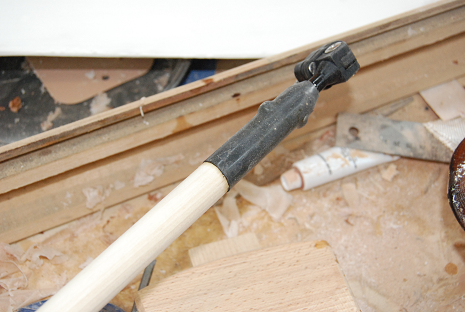 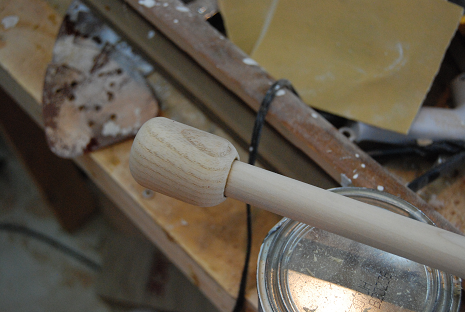 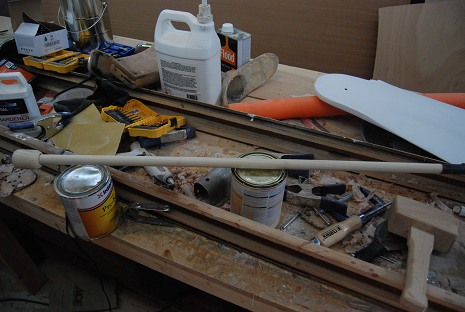 All that waits now is to finish up the varnish. On the second coat now, five more to go! and then some French Whipping to clean it up and make it more hand friendly and it is done!
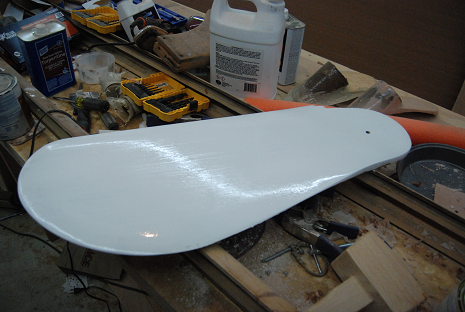
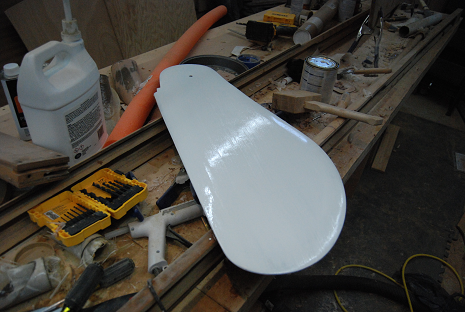
Between Spark's Centreboard in bad but serviceable condition and my own need towards perfection, it was inevitable that I would be doing some work here. So far I have completely reinforced the "handle" and the trailing edge where it smacks up against the hull when raised. Having done this with epoxy and glassfibre, I spent part of the morning sanding it all smooth before slathering the entire board in epoxy. Tomorrow I sand again and then a bit of pre-kote primer before I can paint the entire thing in Kirby's "Ivory" and installing it back into Spark. My new hardware I ordered from the UK has arrived as well. This includes a new bolt with rubber lined washers to keep the water where it belongs, a bump stop at the top of the centreboard case, and a new "brake" to stop the board where I want it.
Sadly for everyone who reads this, I am not shy about puns and plays on words. Sorry, but not sorry. After epoxying the rudder blade yesterday, I sanded it down again today and applied a coat of "pre-cote" to the mahogany. Soon it will have a second coat and then can be sanded smooth and painted properly in ivory. Baby steps for sure, but it's all I can accomplish with the time I have. I also sanded back to bare wood and re-varnished the tiller. I got my hot little hands on a wire coat hanger to hang it from the rafters properly. Now I should not have that issue with runs again.  More coats await!
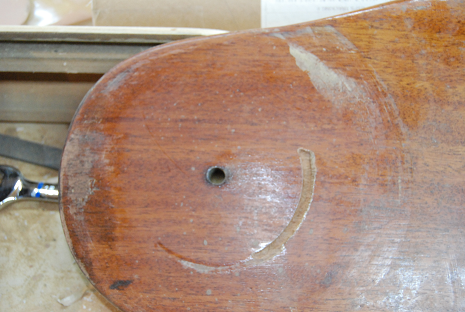
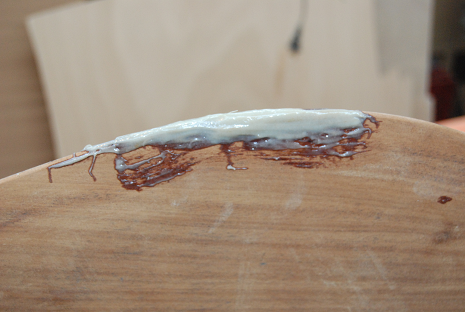
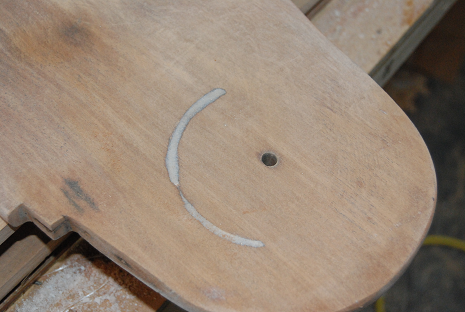
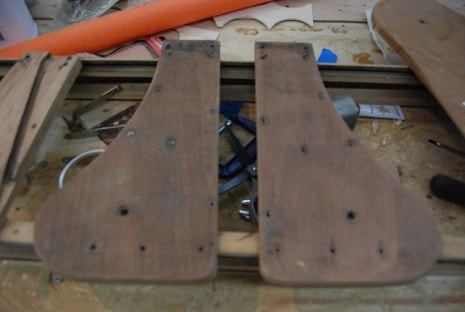
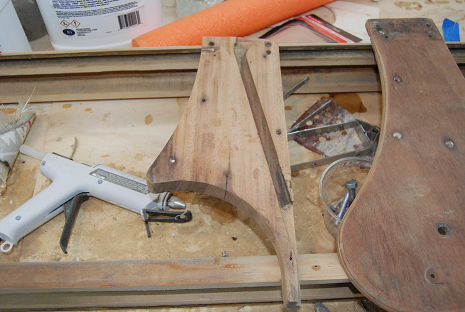
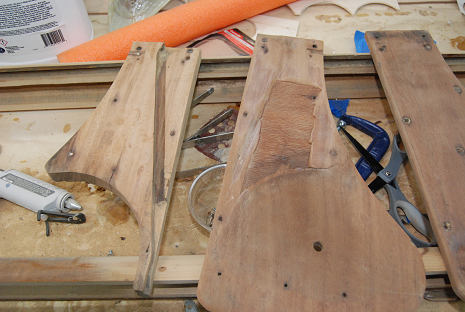
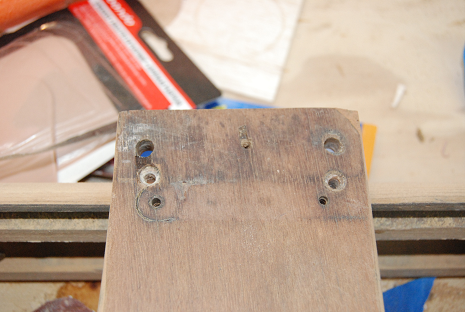
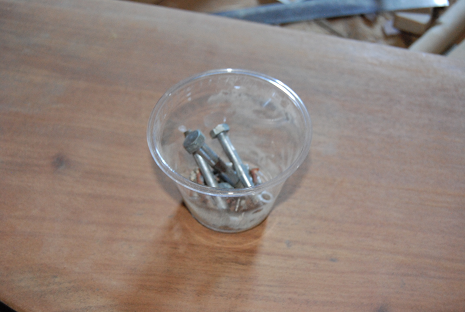
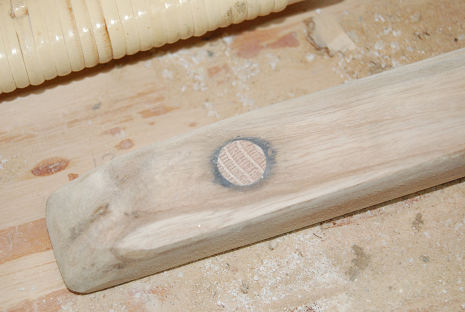
If used properly. We all know what happens if you use it badly. Hopefully in this case, I am using it properly and wisely to achieve my goals of a well repaired and good looking rudder. After pulling it free of it's cheeks and sanding it down to bare mahogany, I found myself looking at a couple of dents and two large gouges in the sides where it pivots. These were caused by a combination of it's loose fitting and too long a screw(s) holding the gudgeon in place. The tips of the screws slowly bit into the mahogany of the rudder blade and left two semi-circular gouges around the pivot bolt. Between these and the large "dent" in the trailing edge of the blade, and the repairs needed to fix them, I will not be able to varnish this lovely wood. First: the damage! I am not sure why, but on both the Rudder Blade and the Centreboard, both pieces of wood are more damaged on their trailing edges than the forward. I personally would think that the boat would do more damage running into things going forwards into shallow water. I digress. Now the repairs: Sadly the bottom the image is not varnish, but a layer of epoxy. Soon as it dries I will give it a good light sanding and then coat it in some nice "ivory" paint from the Kirby Catalogue. This will match the eventual colour of the centreboard and the interior of Spark. I think it's nice soft white will look nice against the varnished mahogany 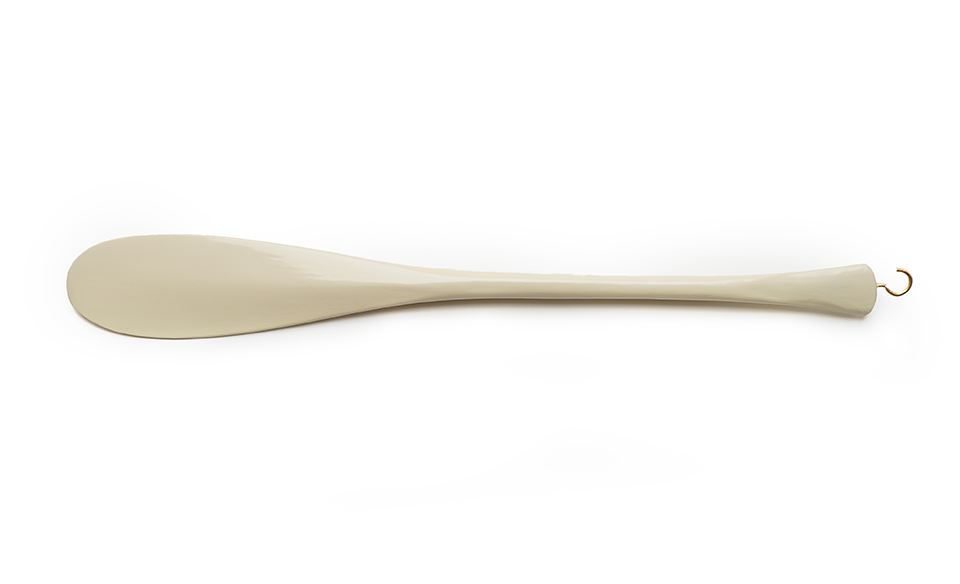 Being an unballasted dinghy, Spark's centreboard serves two purposes. The obvious one is that it allows the boat to sail "into the wind" without skidding across the water with no control. The second is that it is a nice bit of leverage for flipping my GP back upright after the inevitable knockdown. These two factors require that the board on Spark be as strong as can be practically possible. Bell woodworking did this by making it of solid mahogany. As Spark had been used as a racing boat for most of her time afloat, use had not been kind to that large chunk of mahogany that pivoted down from her keel. The "handle" had been cracked and repaired at least once and there were several large dents worn into the trailing edge from where it had beem "slammed home" during racing when every second counts. All in all, the centreboard had lived a hard life. The last couple of days have seen my free time taken up with reducing the rudder to it's component parts. The blade was removed and sanded to bare wood first, it was honestly not in bad shape, but it is also not in great shape. It has more than a few dings and dents taken out of it, some deep scrapes from where it pivoted inside the cheeks, and a few previous repairs from incidents over the years. Next came the "cheeks". On a boat with a wooden rudder, the two pieces of wood that flank the rudder blade are referred to as "cheeks". They not only add strength to the blade, but in Spark's case, allow it to pivot for sailing into shallow water or in case of hitting a submerged obstruction. Very simple and very clever. The cheeks were in decent shape again, but needed work. The glue that held it all together was weak, the brass screws had purged their zinc and gotten brittle, and some of the fasteners had been replaced with standard hardware store nuts and bolts that had rusted and made the mahogany "sick" in places. In taking it all apart, it only required breaking two screws and a lot of muscle power to pry the cheeks apart (this just sounds dirty) away from the central piece of mahogany that spaces the cheeks the same width as the rudder blade. I am not reusing any of the old hardware, brand new silicone bronze screws, washers, bolts, and nuts are on their way! Overall, Spark's rudder and tiller were serviceable, but that was not good enough for me. I do not need to worry about important bits of the boat breaking loose and leaving me to flounder on my own
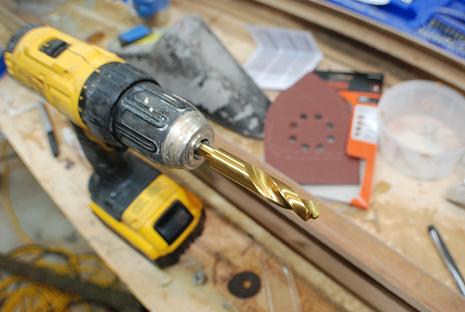
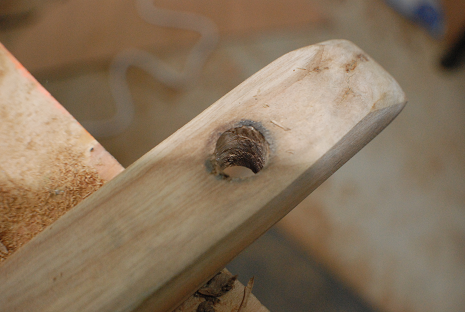
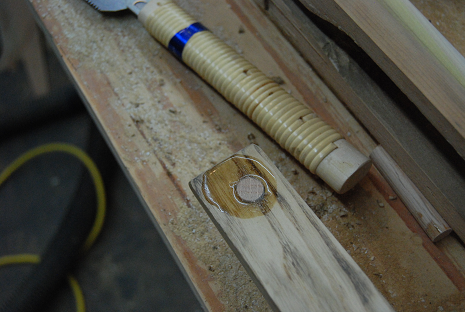
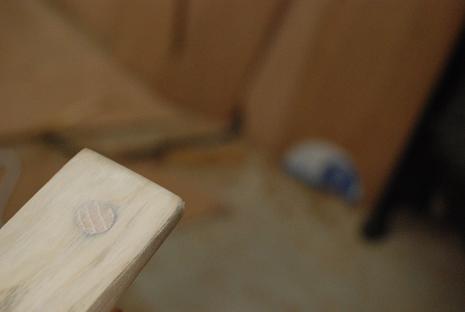
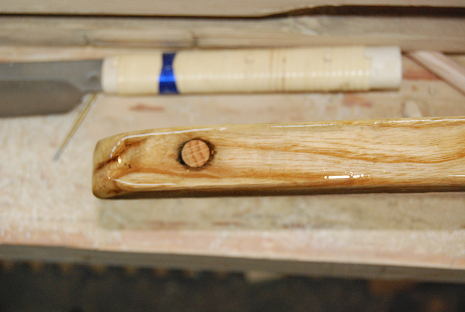
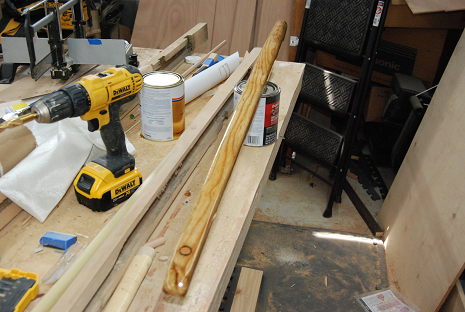
There is one thing true of all vehicles, you need to be able to turn. In a car this is the steering wheel, on your bicycle, the handle bars, on a small boat like Spark, it is the Tiller. Spark's tiller was in decent shape, only a bit of "iron sickness" from where a couple of steel screws had rusted into the wood. No splits, no rot, and no warping was seen anywhere along it's length, making this a viable candidate for refinishing. After sanding it down to smooth bare wood, I was forced to consider what to do about the mounting holes for the hardware that was attached to it. In an ideal situation, I would reuse it, but I like to tinker and make things better. To do this required me to drill the holes out with appropriate sized drill bits and install wooden dowels. With the dowels cemented into place with epoxy, they would be come an integral part of the tiller, strengthening it instead of weakening it. Once the epoxy was dry, it was a matter of cutting the dowels tight to the wood and then sanding them flush. While all this is fun, the real enjoyment comes from getting a good couple layers of clear varnish over the smooth wood. I still need to add another 4 or 6 layers, but it looks good so far with Interlux's Schooner Varnish 96 |